
Why Crawl Space Moisture Is a Serious Problem
A damp crawl space rarely stays a minor inconvenience. Moisture trapped beneath your floor evaporates upward, raising humidity in living spaces, encouraging mold growth on floor joists, and creating ideal conditions for wood-boring insects and rodents. Over time, persistent moisture can soften the structural wood that supports your floors — a repair that quickly becomes expensive.
The source of moisture matters because it shapes your solution. Common culprits include groundwater seeping up through bare soil, condensation from warm humid air hitting cooler surfaces, inadequate drainage routing water against the foundation, and plumbing leaks. Before spending money on any fix, spend a few minutes identifying which source — or combination of sources — you're dealing with.
~50%
Indoor air that rises from crawl spaces
Building science research commonly estimates that roughly half of the air in a home's first floor can migrate upward from an unsealed crawl space, carrying moisture and contaminants with it.
60%
Relative humidity threshold for mold growth
Most mold species can begin colonizing surfaces when relative humidity consistently exceeds 60%, according to general guidelines from the U.S. Environmental Protection Agency.
The Proven Methods — and What Each One Does
No single product eliminates crawl space moisture on its own. Effective management usually combines two or three of the following approaches.
Install a ground-cover vapor barrier across all exposed soil.
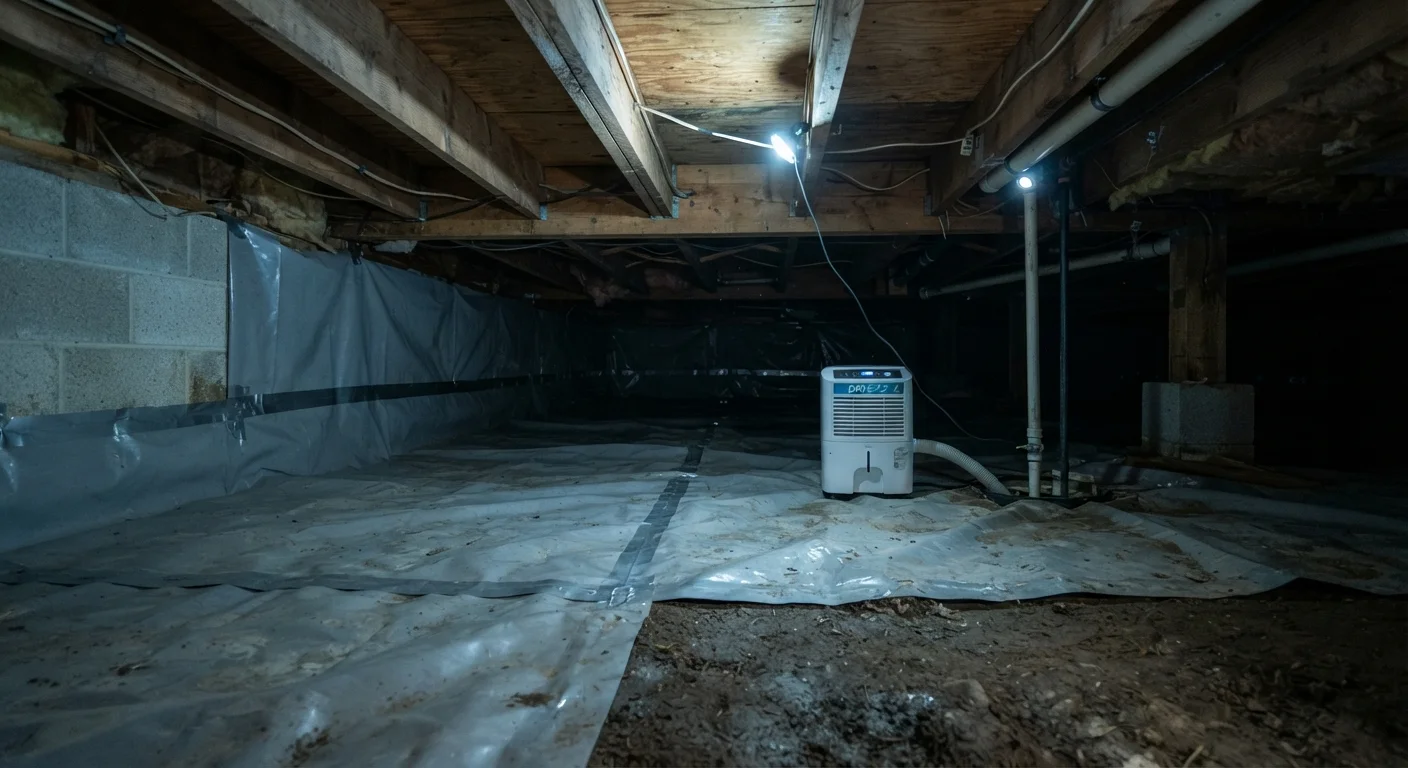
Bare soil constantly releases moisture vapor into the crawl space air. A polyethylene sheet — typically 6-mil or thicker — placed directly on the ground dramatically reduces that evaporation. It's the foundational step that makes every other measure more effective.
Ensure gutters and grading direct water away from the foundation.
Water pooling against your foundation eventually finds its way into the crawl space. Cleaning gutters regularly and confirming that the soil grade slopes away from the house at least 6 inches over the first 10 feet addresses moisture at its source rather than managing it after it enters.
Run a properly sized dehumidifier in high-humidity seasons.
Even with a vapor barrier in place, humid summer air or drainage events can raise crawl space humidity above safe levels. A dehumidifier set to maintain relative humidity below 60% prevents mold from gaining a foothold.
Check and maintain foundation vents or encapsulation seals seasonally.
Vents can become blocked by debris or damaged by pests, while encapsulation barriers can tear or pull away from walls. Either failure undermines your entire moisture management system.
Address plumbing drips and condensation on pipes promptly.
Even small, slow drips from pipes running through the crawl space add meaningful moisture over weeks and months. Pipe condensation in humid weather has the same effect. Both are easy to overlook during a quick visual scan.
Vented vs. Encapsulated: Know Your Crawl Space Type
How you manage moisture depends partly on whether your crawl space is vented (has foundation vents that open to outside air) or encapsulated (fully sealed with a continuous barrier across walls and floor).
Vented crawl spaces rely on outside air circulation to carry humidity away — an approach that works reasonably well in dry climates but often backfires in humid regions, where outdoor air is already laden with moisture. If you live somewhere with hot, humid summers, venting can actually introduce more moisture than it removes.
Encapsulation seals the crawl space off from outside air and ground moisture entirely. It generally outperforms venting in humid climates, but it requires a well-installed continuous barrier and, in most cases, a dedicated dehumidifier sized for the space. Encapsulation also tends to cost more upfront and may require a permit in some jurisdictions — check local building codes before proceeding.
Matching Your Strategy to Your Climate
If you live in a hot, humid region such as the Gulf Coast or Southeast, encapsulation with a dehumidifier will generally outperform traditional venting. In arid climates, maintaining functional vents and a ground-cover barrier is often sufficient. Consider your typical summer humidity levels before committing to a full encapsulation project.
When to Call a Professional
DIY moisture management has real limits. Call a licensed contractor or waterproofing specialist when you encounter any of the following: standing water that reappears after heavy rain, active mold colonies covering large surfaces, structural wood that feels soft or spongy underfoot, or evidence of significant pest infestation. These conditions may point to drainage failures, foundation cracks, or damage that goes beyond a vapor barrier and a dehumidifier.
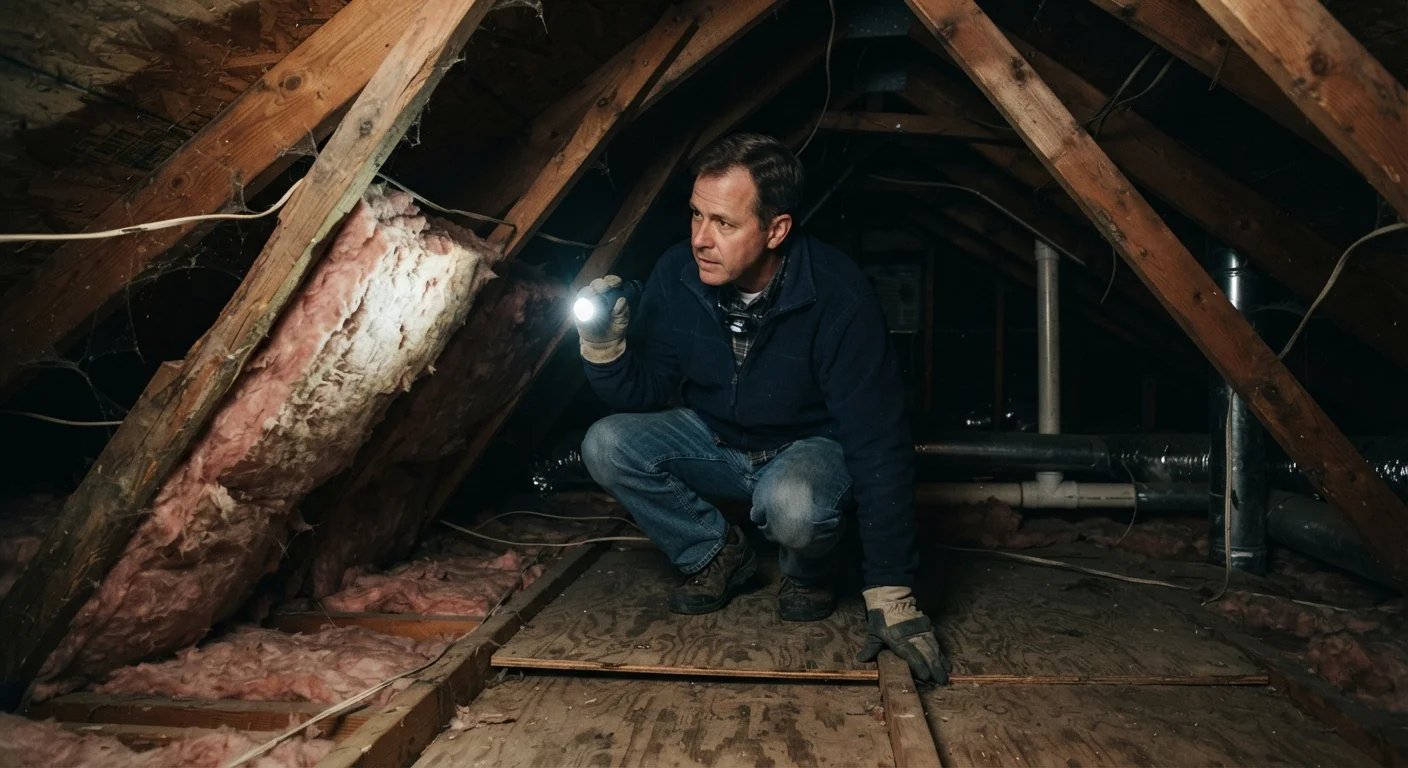
Similarly, just as a crawl space checkup is valuable below the floor, a thorough look above the ceiling pays dividends — see our attic inspection guide for a walkthrough of what to check up there. Moisture problems at both ends of a home often share the same underlying causes.
Permits and Codes Vary by Location
Crawl space encapsulation and interior drainage systems may require a building permit in your municipality, and some areas have specific requirements for vapor barrier thickness or dehumidifier installation. Always verify local building code requirements before starting a significant project. Your local building department can confirm what's needed for your jurisdiction.
Start with a Seasonal Inspection Habit
The most cost-effective crawl space strategy is consistent monitoring. A quick visual check each spring and fall — looking for new condensation stains, pest activity, or barrier damage — lets you catch problems early, before they escalate into structural repairs.
Bring a flashlight, wear a dust mask and knee pads, and photograph anything that looks different from your last visit. Keep notes on humidity readings if you have a sensor installed. That simple habit, combined with a properly installed vapor barrier and functional drainage, does more to protect your home's undercarriage than any single product ever could.