
Why the Border Process Feels Confusing — And Why It Doesn't Have To
For first-time international travelers, the stretch between landing and exiting the arrivals hall is the most anxiety-provoking part of the trip. You're jet-lagged, surrounded by unfamiliar signage, and unsure whether you're doing things in the right order. The good news: the process is highly standardized worldwide. Nearly every country runs arrivals through the same basic sequence — immigration, baggage claim, customs — and the steps are well-marked.
What trips people up isn't the process itself but the preparation beforehand. Having the right documents, knowing what to say at the immigration counter, and understanding what you can and can't bring into a country are all things you can sort out before you board. Our first international trip guide covers those broader fundamentals if you're starting from zero.
What you will need
Below is a step-by-step walkthrough of exactly what happens from the moment your wheels touch down.
What to Prepare Before You Even Land
The easiest way to breeze through arrival is to do your homework before departure. Confirm your entry requirements — including whether your destination requires a visa in advance, an electronic authorization, or simply your passport — well before your travel date. Our entry requirements explainer walks through exactly how to check this.
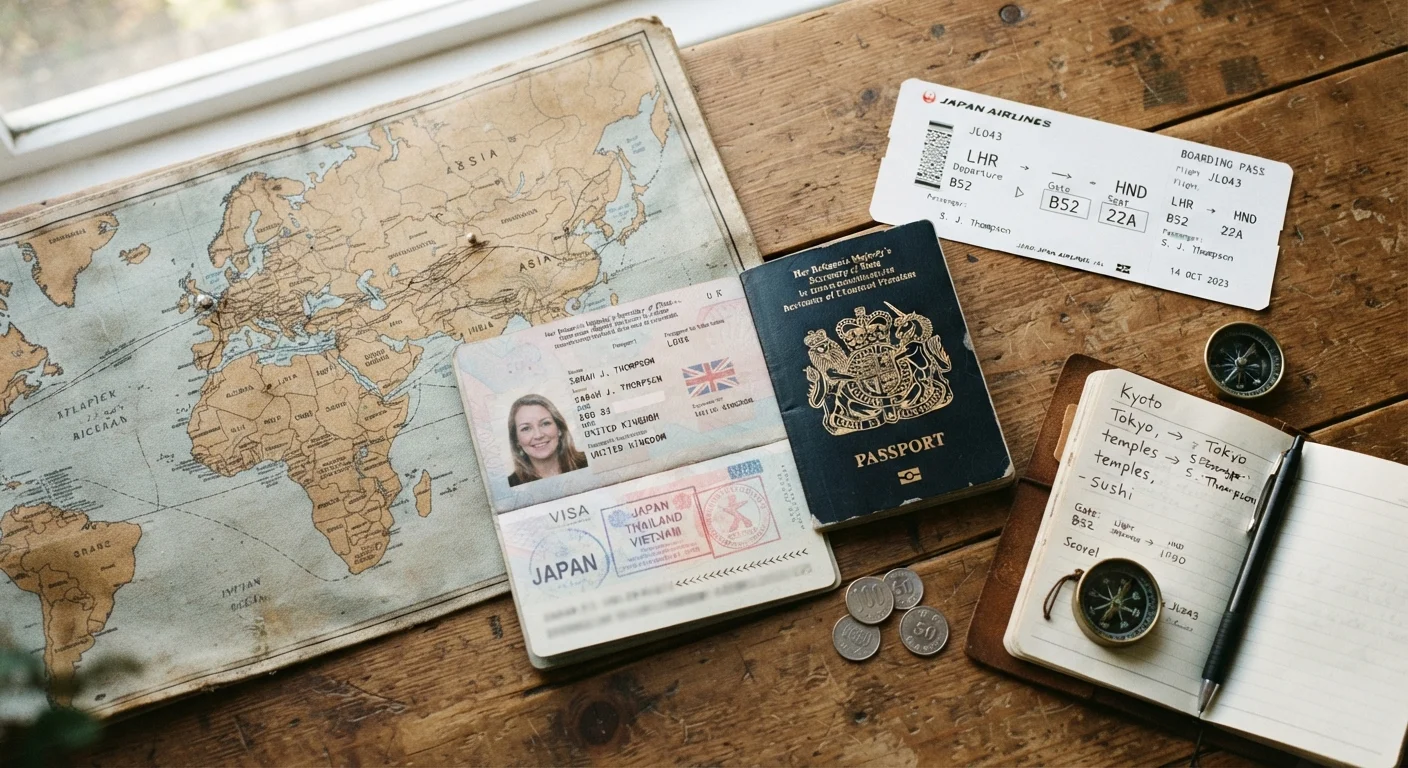
Valid Passport
Your primary identity document for crossing international borders — required at every immigration checkpoint.
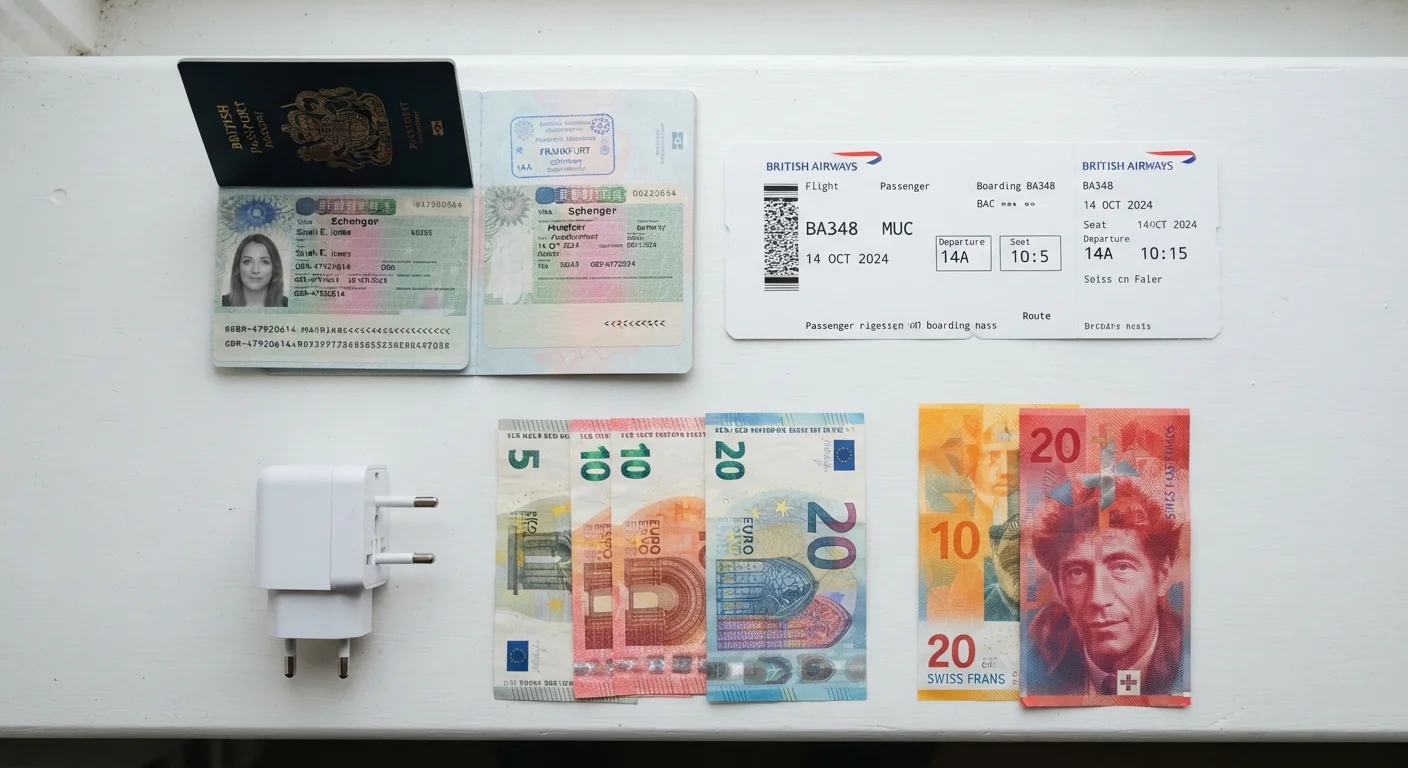
Visa or Electronic Travel Authorization (if required)
Proof of permission to enter your destination country, obtained before travel for countries that require it.
Arrival / Customs Declaration Card
A paper or digital form declaring your purpose of visit and any goods you're bringing in — required by many countries.
Onward or Return Flight Confirmation
Proof that you plan to leave the country — some immigration officers ask for it to confirm you're not overstaying.
Hotel Confirmation or Host Contact Info
Officers commonly ask where you'll be staying; having an address written down prevents fumbling with your phone.
On the plane, fill out any arrival or customs declaration cards the moment they're handed to you. A pen is one of the most useful things you can carry in your carry-on. Also, write down — not just save on your phone — your accommodation address for night one. Phones die; paper doesn't.
Have Your Documents Accessible, Not Buried
Keep your passport, any printed visa or arrival card, and your accommodation address in a single easy-to-reach spot — a jacket pocket or a travel document wallet works well. Fumbling through a backpack at the immigration counter slows everyone down and adds unnecessary stress. Digital copies stored offline on your phone are a smart backup.
For a comprehensive pre-flight preparation checklist, see our international travel prep checklist.
Step-by-Step: From Landing to the Arrivals Hall
Always Verify Entry Requirements in Advance
Border procedures, visa rules, and required documents change frequently. Before you travel, check the official government website of your destination country and the U.S. Department of State's travel pages. See our entry requirements guide for a full breakdown of visas, passport validity rules, and more. Do not rely solely on this article for current requirements.
Follow Airport Signage to Immigration (Passport Control)
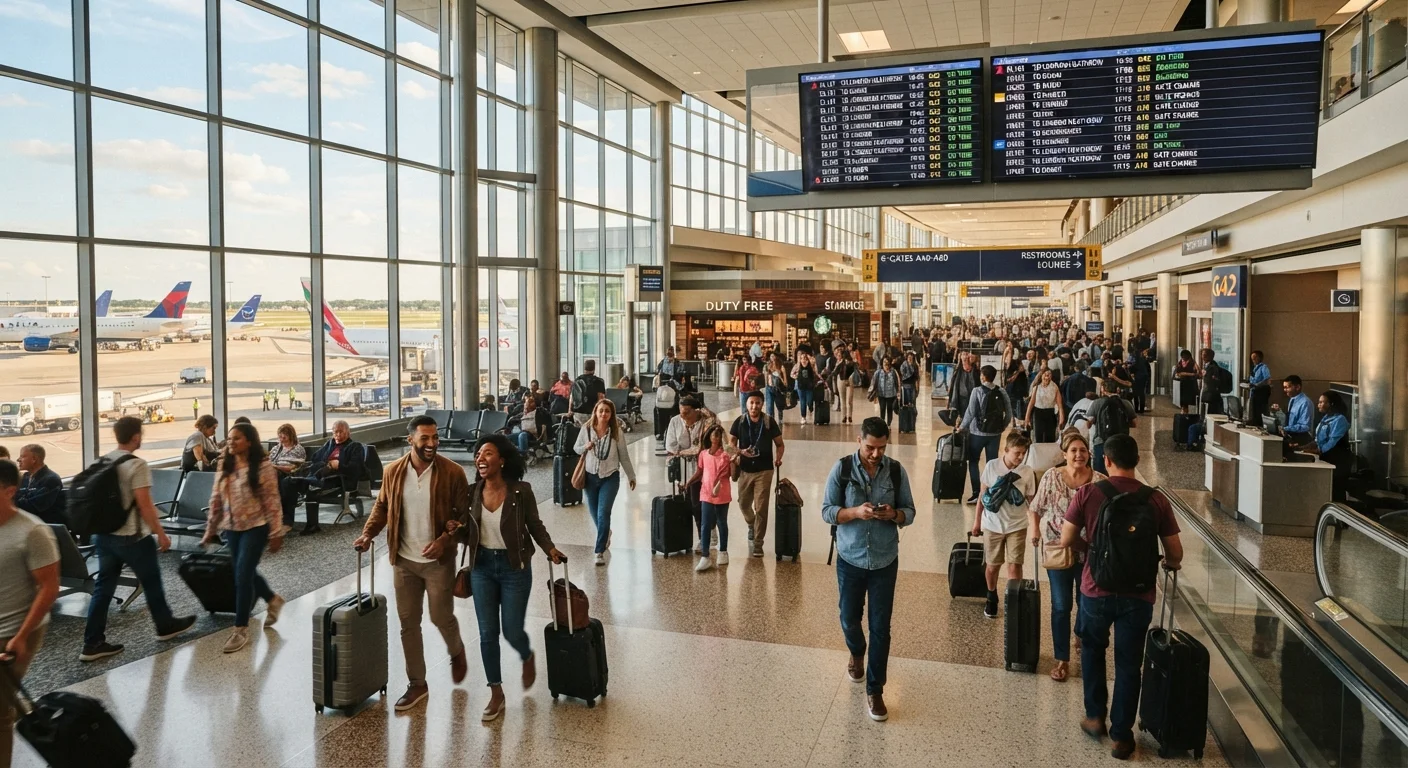
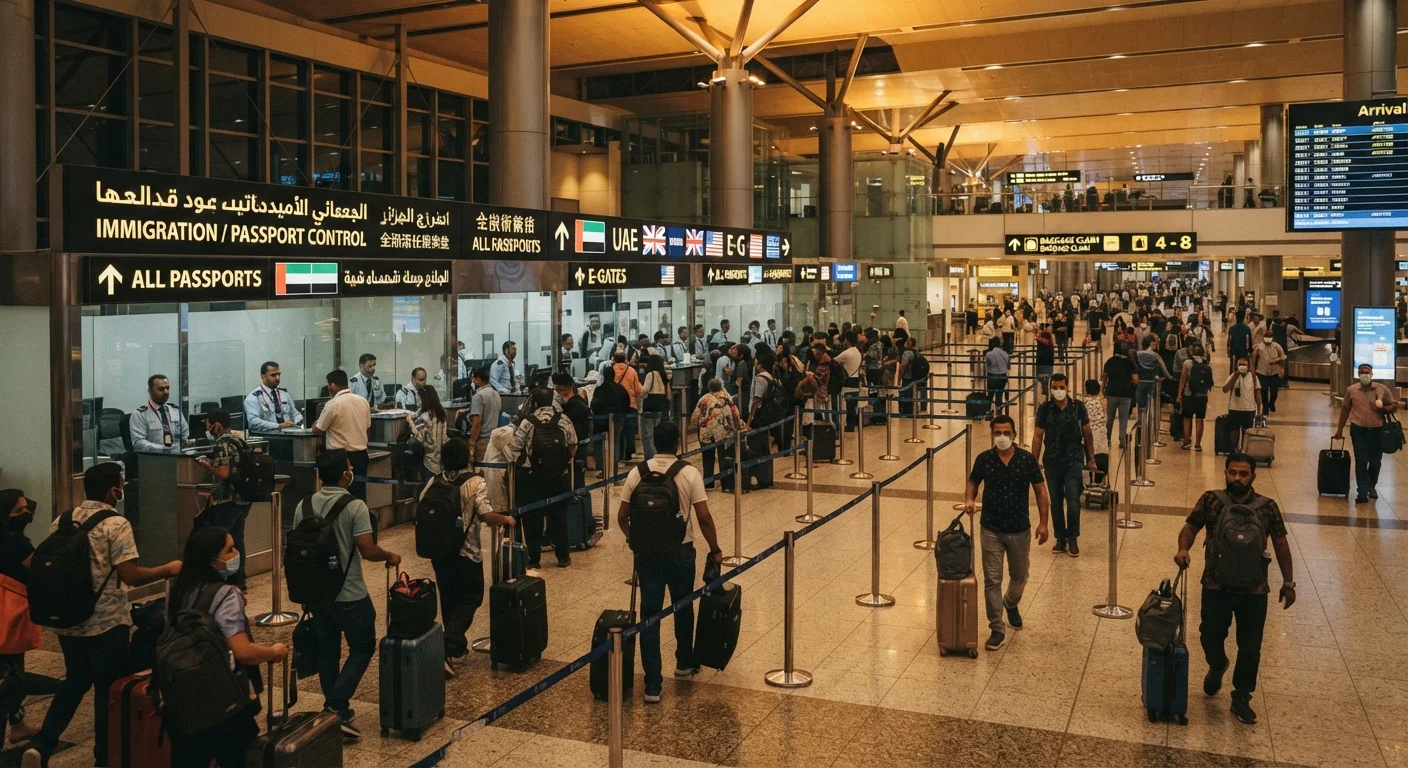
After your plane lands and you exit the jet bridge, follow signs for Immigration, Passport Control, or Border Control — airports use different terms, but they all point to the same place. In large international airports this walk can take 10–20 minutes. Do not exit through any other door or skip the queue; there is no shortcut through immigration.
Many airports now separate arriving passengers into lines: citizens/residents and foreign visitors. Join the foreign visitors line unless you hold citizenship or permanent residency in that country.
Complete Your Arrival Card (If Required)
Many countries require a paper or digital arrival card (also called a landing card or disembarkation card). Flight attendants typically distribute paper versions on long-haul flights. Fill yours out completely and accurately before you land — you'll need your passport number, flight number, destination address, and the purpose of your visit.
If you didn't receive a card on the plane, look for a desk with blank forms just before the immigration queue. Some countries have moved this process online or to an app; check your destination's official immigration website before you fly.
Present Your Documents at the Immigration Counter
When it's your turn, approach the officer and hand over your passport, your completed arrival card (if applicable), and any visa documentation. The officer will ask a few standard questions — typical ones include:
- What is the purpose of your visit? (tourism, business, visiting family)
- How long do you plan to stay?
- Where will you be staying?
Answer clearly and truthfully. The officer will stamp your passport or scan it, note your permitted length of stay, and wave you through. The whole interaction is usually under two minutes if your documents are in order.
Collect Your Checked Baggage
After clearing immigration, follow signs to Baggage Claim. Look for a monitor displaying your flight number — it will show which carousel your bags are on. Wait for your bag, then double-check the luggage tag matches your claim ticket before leaving the area.
If your bag doesn't arrive within 20–30 minutes of the last bags from your flight, locate the airline's baggage services desk (usually in the baggage claim hall) and report it immediately. Do this before exiting customs — it's much harder to sort out once you've left the secure area.
Declare Goods and Pass Through Customs
With your bags in hand, you'll proceed to Customs. This is where officers verify what you're bringing into the country. Most airports use a two-channel system:
- Green channel (Nothing to Declare): For travelers carrying only personal items within the country's duty-free limits.
- Red channel (Goods to Declare): For travelers carrying items above duty-free thresholds, restricted goods (certain foods, plants, large amounts of cash), or anything requiring documentation.
When in doubt, use the red channel. Declaring an item you didn't need to declare is a minor inconvenience; failing to declare something you should have is a customs violation that can result in fines or confiscation.
Note: If you're carrying more than $10,000 USD equivalent in cash or monetary instruments, you are legally required to declare it — both when leaving the U.S. and when entering most foreign countries.
Exit to the Arrivals Hall
Once customs clears you, you'll walk into the public arrivals hall — the finish line. This is where people holding name signs gather, taxi desks operate, and airport transportation options are clearly posted.
Take a breath, get your bearings, and locate the ground transportation you arranged before travel. If you're meeting someone, this is where they'll be waiting. Currency exchange counters and ATMs are typically available here if you need local cash immediately.
Never Joke or Lie at Immigration
Immigration officers have wide authority to question and deny entry. Jokes about contraband, false information on forms, or inconsistent answers can result in extended questioning, detention, or refusal of entry — regardless of your intentions. Answer every question honestly and directly.
Common Questions First-Timers Have at the Border
What if I get pulled aside for extra screening?
Secondary inspection — a more detailed questioning or bag check — happens to a small percentage of travelers and doesn't mean you've done anything wrong. Stay calm, answer questions honestly, and follow the officer's instructions. It typically adds 20–60 minutes to your arrival time.
What counts as "declaring" something at customs?
Declaring means officially informing customs officers that you're carrying a particular item. Mark "yes" on your declaration form for any food, plant material, animal products, or large sums of cash. An officer then decides whether it's permitted, subject to a duty (a tax on goods), or confiscated.
How long does the whole process take?
At a small regional airport with a short immigration queue, you could be in the arrivals hall in 20 minutes. At a major international hub during peak hours, the process can take 1.5–2 hours. Whenever you're landing internationally, avoid scheduling anything — a transfer, a train, a meeting — within three hours of your estimated arrival time.
Once you're through, the real adventure begins. If you're still working on what to pack for the journey, our international packing guide is a practical next read.