
Why Planning Is the Real Work
A gallery wall looks effortless when it's done well — and chaotic when it isn't. The difference almost always comes down to how much thinking happened before the first nail went in. Rushing to hang frames is the single most common mistake homeowners make, resulting in crooked arrangements, mismatched spacing, and walls riddled with unnecessary holes.
Good planning doesn't require a design degree. It requires tracing paper, some tape, and a willingness to step back and look before you commit. Whether you're working with a narrow hallway or a wide living room wall, the prep steps below apply equally. Renters, take note: planning is especially critical if you're working with limited nail holes — every hole should count.
Never Skip the Paper Template Step
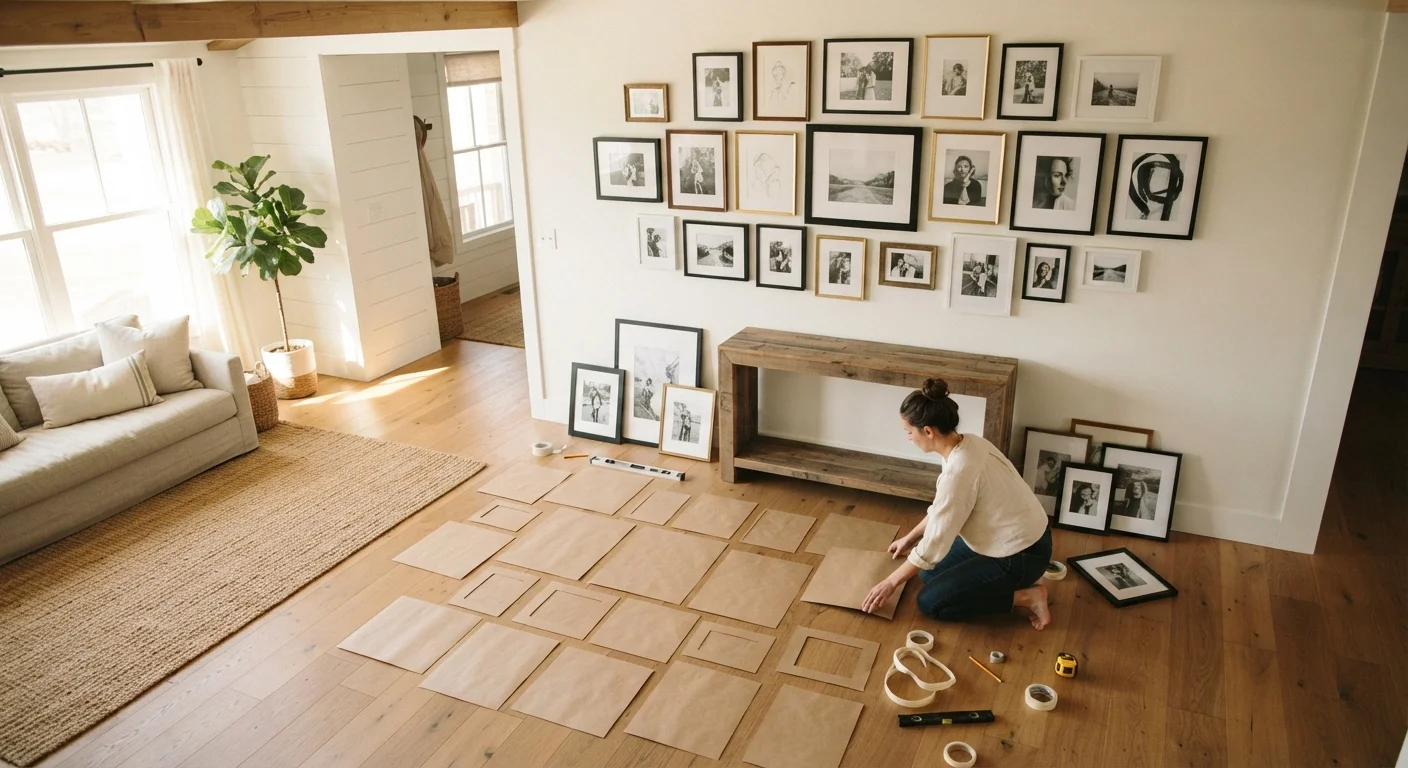
The single most time-saving move in any gallery wall project is using paper cutouts before touching a nail. Even experienced decorators use this technique because wall proportions look dramatically different in person than they do in your head. Skipping templates means more holes, more spackle, and more frustration — none of which saves time.
What You'll Need Before You Start
Gather your tools before diving into layout decisions. Having everything in reach keeps the planning session focused and prevents you from improvising on the fly.
Tape measure
Measure the wall dimensions and maintain consistent spacing between frames.
Painter's tape
Temporarily hold paper templates to the wall without damaging the paint surface.
Kraft paper or newspaper
Create traced cutouts of each frame to plan the layout before committing to nails.
Level (bubble or digital)
Ensure each frame hangs straight, especially important when grouping multiple pieces.
Pencil
Mark nail positions on wall templates and on the wall itself.
Hammer and appropriate wall hooks
Hang frames securely based on the wall type and frame weight.
Stud finder
Locate studs for heavier frames that need more secure anchor points than drywall anchors alone.
Smartphone camera
Photograph your floor layout as a reference guide before transferring to the wall.
The Planning Checklist
Work through these steps in order. Each group builds on the one before it, so skipping ahead tends to create rework. Think of this as your layout blueprint — the wall is just the final step.
If you're drawn to structured arrangement principles, it's worth understanding how the rule of three applies to wall groupings before finalizing your composition. Odd-numbered clusters often feel more natural to the eye than even ones.
Wall & Space Assessment
Art & Frame Selection
Layout Planning
Wall Transfer & Final Check
Heavy Frames Need Proper Wall Anchors
Frames weighing more than a few pounds should be anchored into a wall stud or with a rated drywall anchor — not just a picture hook. Hanging heavy frames on insufficient hardware is a real safety risk. If you're unsure about your wall type or frame weight, consult a hardware store associate or a handyman before hanging.
Check Before Drilling in Older Homes
In homes built before the 1980s, walls may contain lead paint or asbestos-based materials. Drilling or sanding without knowing the wall composition can release harmful particles. If your home predates 1980 and you're uncertain about the wall materials, have them tested by a qualified professional before doing any penetration work.
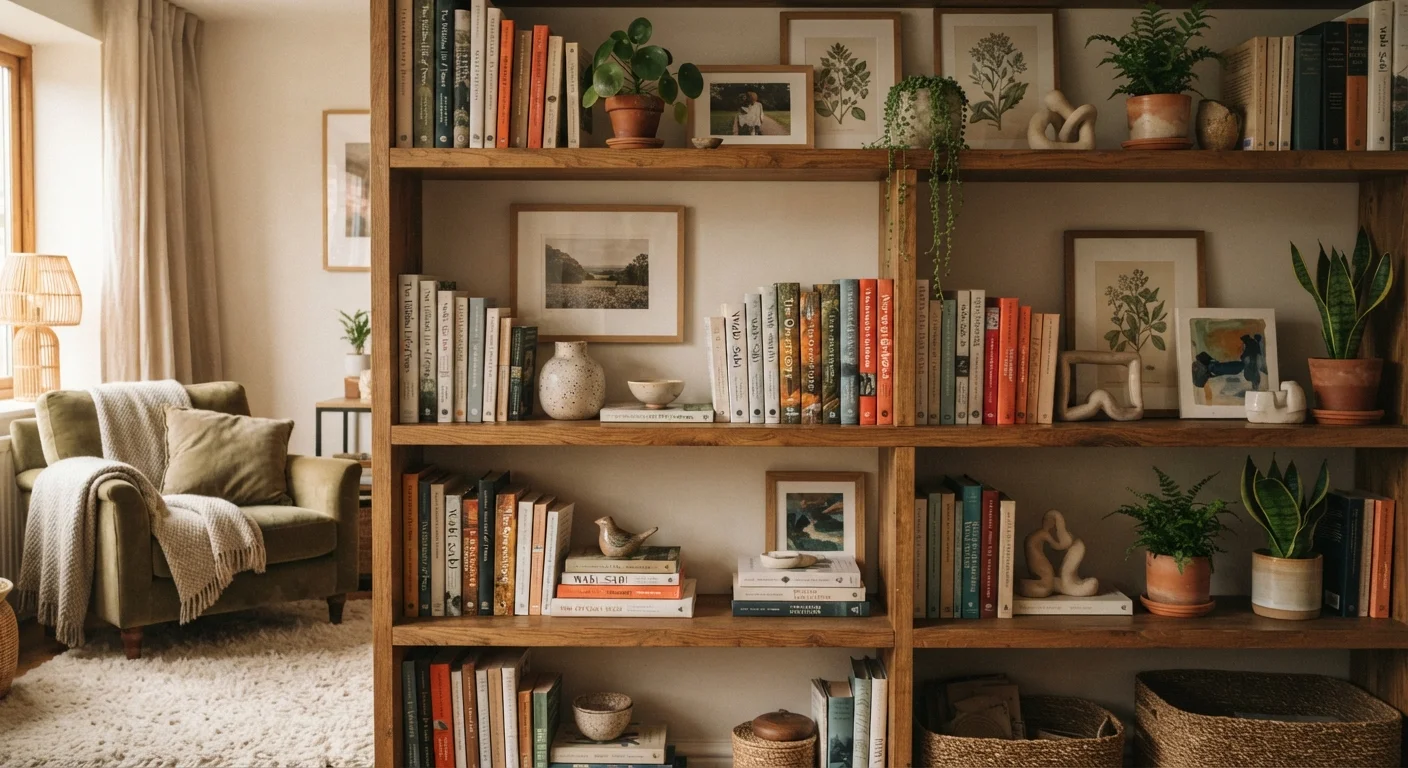
Once your layout is finalized and your frames are hung, the same compositional thinking applies to other surfaces in the room. Styled bookshelves nearby can echo your gallery's palette and tone, making the room feel intentionally designed rather than pieced together.
If you're considering turning the same wall into a painted accent feature instead, weigh the tradeoffs of paint, wallpaper, and panel options before settling on a direction. And if the wall color itself needs refreshing first, a clean paint job is a solid foundation for any gallery arrangement.