
Why Composting Belongs in Every Home Garden
Composting is one of the most straightforward ways to improve your garden without spending money on amendments. Instead of sending organic material to a landfill, you return it to the soil in a form that plants and soil organisms can use directly. The result — often called "black gold" by gardeners — is a stable, nutrient-rich material that improves almost any soil type.
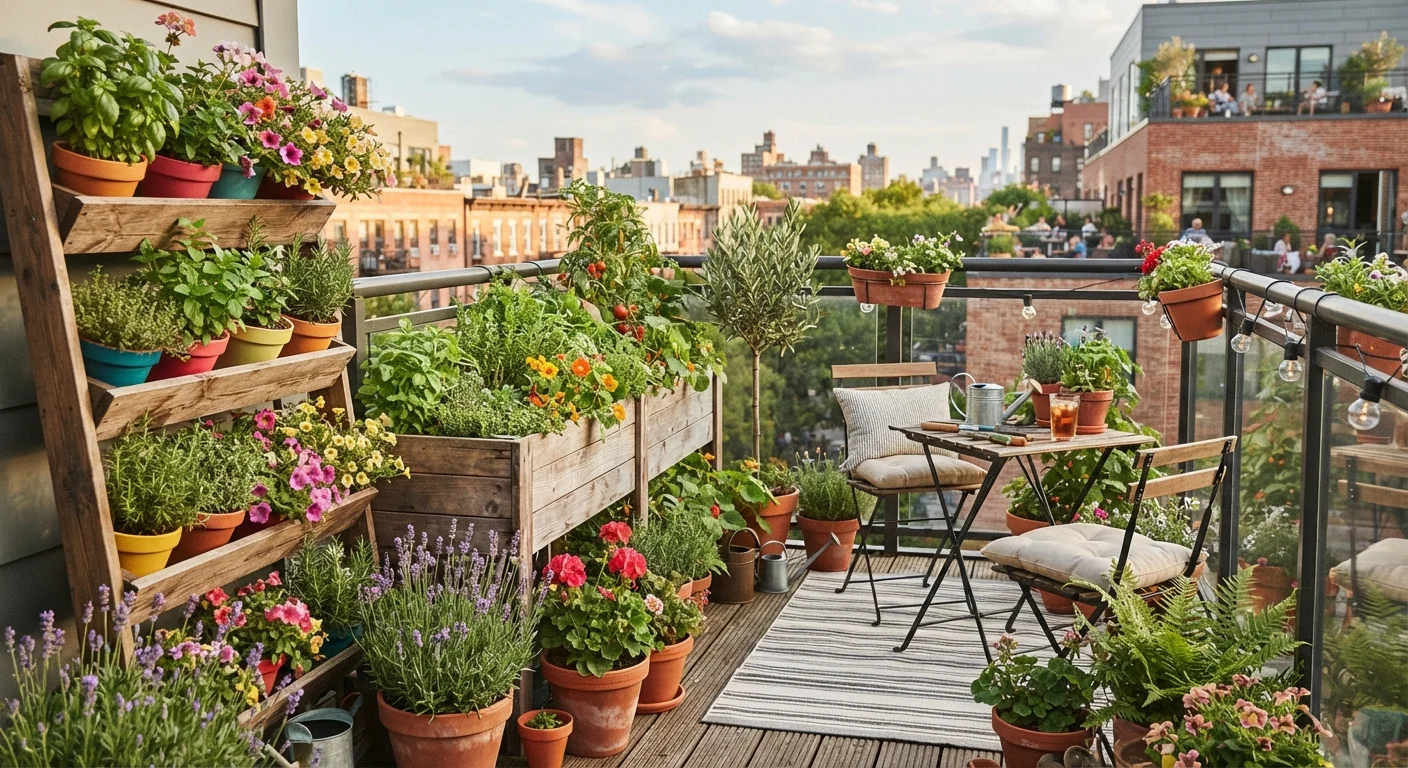
Understanding the basics before you start helps you avoid the most common beginner frustrations, like a pile that never heats up or one that develops a persistent smell. Whether you have a large backyard or a modest patio, composting can be adapted to fit your situation. Gardeners working in tighter spaces can find additional strategies in our small-space gardening guide.
Compost bin or designated pile area
Contains materials and retains heat to accelerate decomposition.
Pitchfork or compost turning tool
Used to aerate the pile by turning it regularly.
Kitchen scrap container with lid
Collects food scraps at the counter before transferring to the outdoor pile.
Garden hose or watering can
Adds moisture when the pile is too dry.
Shredder or lawn mower
Breaks yard waste and leaves into smaller particles for faster breakdown.
Compost thermometer
Monitors internal pile temperature to confirm active decomposition.
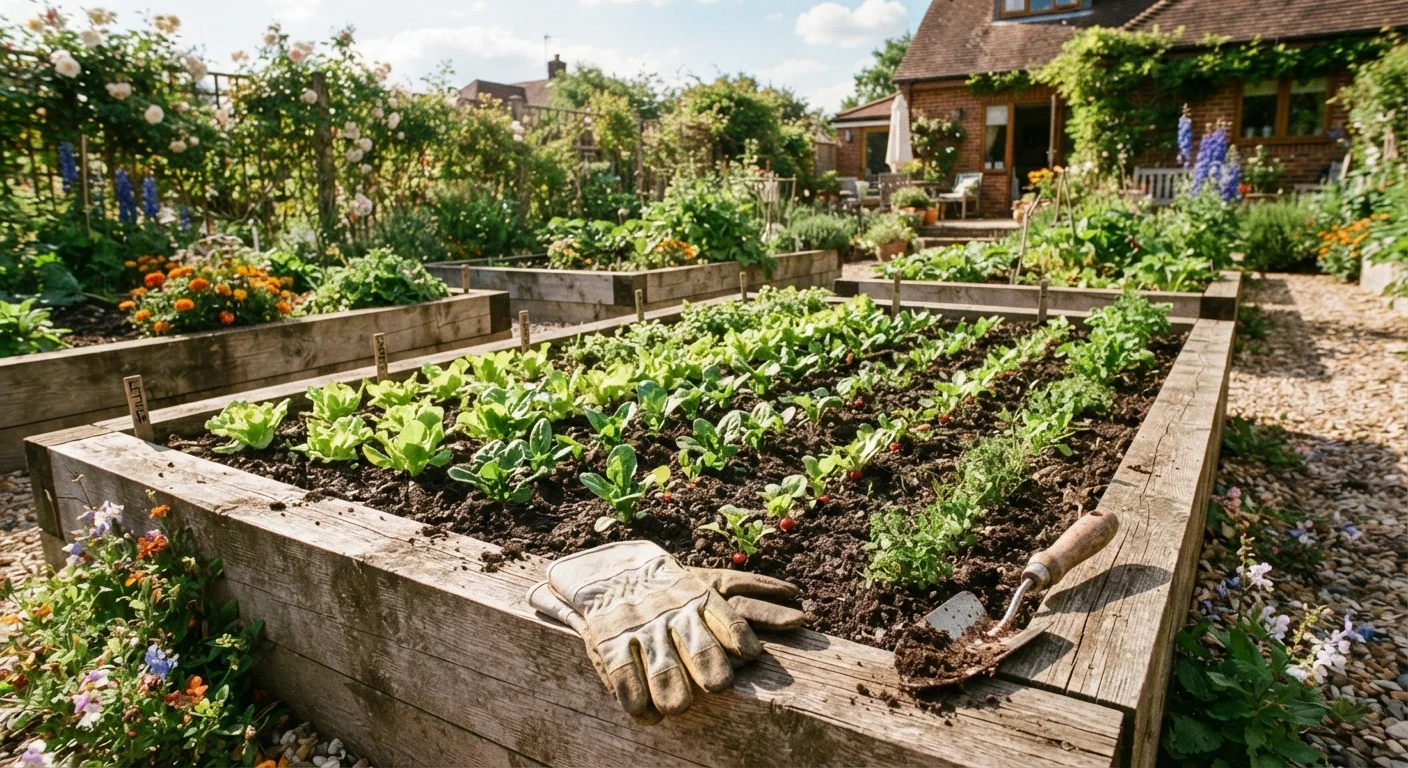
If you're planning a vegetable garden, finished compost is one of the best things you can incorporate before planting. Our beginner vegetable garden guide walks through how to prepare beds from the ground up.
What you will need
Step-by-Step: Building and Managing Your Compost Pile
The steps below cover everything from choosing your setup to applying finished compost to your garden beds. Take your time with the first build — a well-constructed pile requires less maintenance than one put together haphazardly.
Never Compost These Materials
Meat, fish, bones, dairy products, and oily or greasy foods can attract pests and create serious odor problems. Also avoid composting pet waste, diseased plants, or weeds that have gone to seed — these can spread pathogens or unwanted plants into your garden beds.
Choose your composting method and location
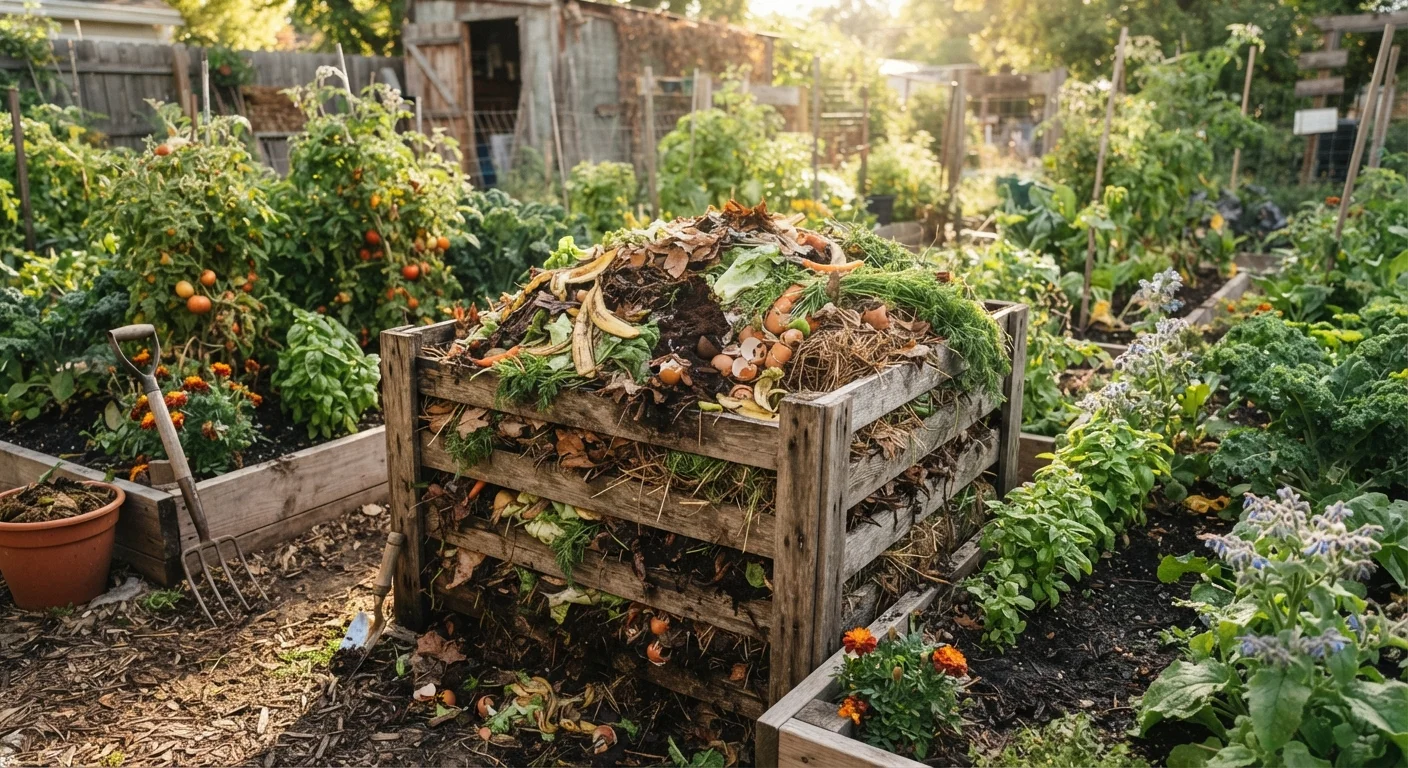
Pick a spot that is convenient, gets some sun (which helps with warmth), and has decent drainage. A bare-earth base allows beneficial organisms like worms and microbes to migrate in from the soil. You can build an open pile, use a DIY three-sided bin made from pallets, or purchase a tumbler-style bin — all work. A volume of at least 3 feet × 3 feet × 3 feet is generally considered the minimum to generate enough heat for efficient breakdown.
Understand and gather your "browns" and "greens"
Composting relies on two categories of material. Browns (carbon-rich) include dried leaves, cardboard torn into small pieces, straw, wood chips, and paper bags. Greens (nitrogen-rich) include vegetable and fruit scraps, coffee grounds, fresh grass clippings, and plant trimmings. A roughly 3:1 ratio of browns to greens by volume is a widely used starting point, though adjustments may be needed based on your materials and climate.
Layer and build your pile
Start with a 4–6 inch layer of coarse browns (like wood chips or straw) at the base to allow airflow. Follow with a layer of greens, then another layer of browns, and continue alternating. Add a light sprinkle of finished compost or garden soil between layers to introduce microbial life if you are starting from scratch. Water lightly between layers so the pile feels about as moist as a wrung-out sponge — damp but not dripping.
Maintain moisture and aeration
Turn the pile every one to two weeks using a pitchfork to move material from the outer edges toward the center, where heat is highest. This introduces oxygen that aerobic microbes need to thrive. Check moisture each time you turn: the pile should feel damp throughout. In dry climates or summer heat, you may need to water it; in wet seasons, cover it with a tarp to prevent waterlogging.
Recognize when compost is finished
Finished compost looks dark brown and crumbly, smells earthy (like forest soil), and has no recognizable food or plant pieces remaining. The pile will also have shrunk considerably — often to one-third of its original volume. Active decomposition generates heat; when the pile no longer heats up after turning, it is a sign the process is winding down. Cure the finished batch by letting it rest undisturbed for two to four weeks before use.
Apply finished compost to your garden
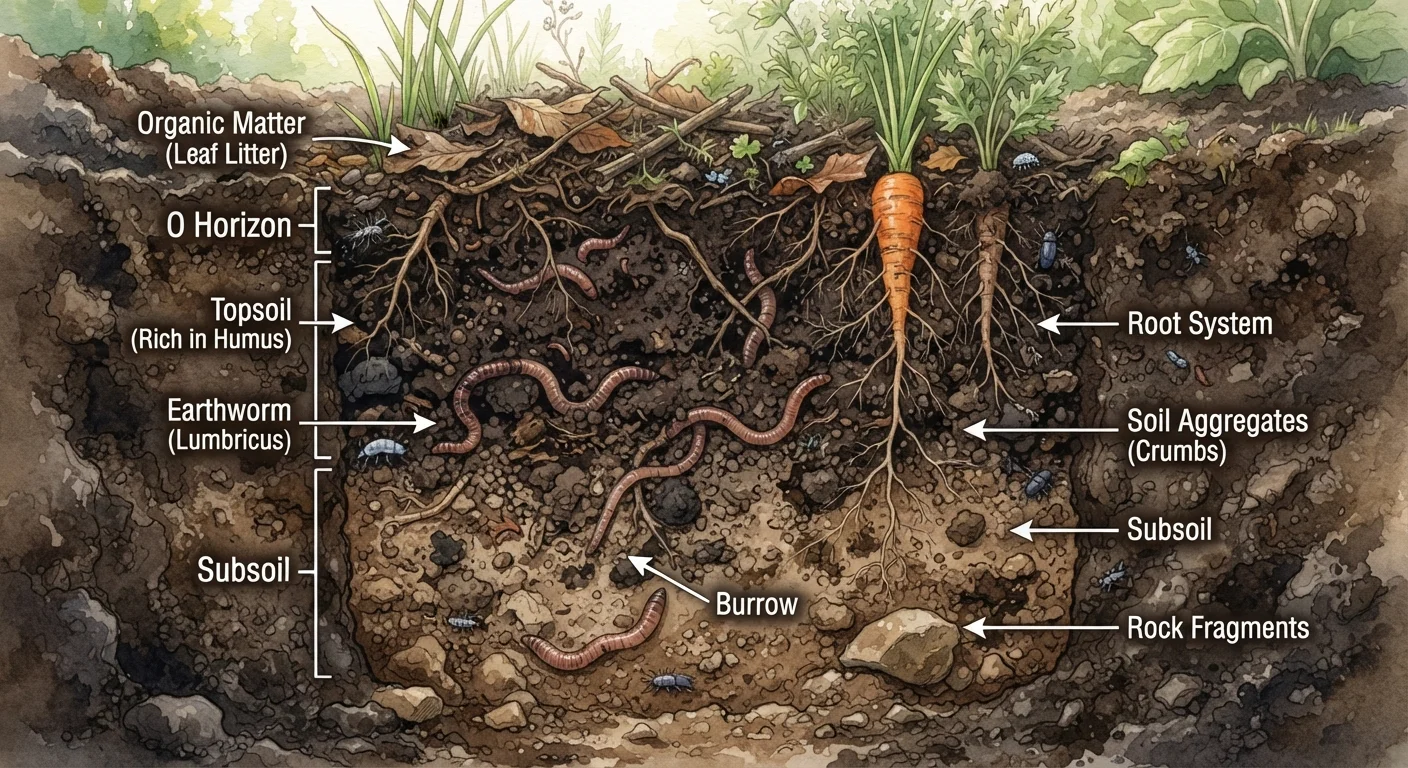
Spread 1–3 inches of finished compost over garden beds and work it gently into the top few inches of soil. It can also be used as a top dressing around established plants or mixed into potting soil for containers. Compost improves soil structure, helps sandy soils retain water, breaks up dense clay, and feeds soil microbes that make nutrients more available to plant roots. For more on what your garden soil needs, see our guide to soil health.
Speed Things Up Naturally
Chop or shred materials into smaller pieces before adding them to your pile — smaller particles give microbes more surface area to work on. A finished compost pile from shredded materials can be ready weeks faster than one made from whole leaves and large scraps.
Watch Out for a Compacted, Smelly Pile
A foul, ammonia-like smell usually means your pile has too many greens and not enough airflow. Add a generous layer of dried leaves or cardboard and turn the pile to introduce oxygen. A pile that smells like rotten eggs may be too wet and anaerobic — turn it and add dry browns immediately.
Compost works well alongside other organic gardening practices. It can complement mulching strategies to reduce watering and suppress weeds, and supports the healthy soil ecosystem that makes natural pest control approaches more effective. For a broader picture of when composting fits into the gardening calendar, consult our seasonal yard care reference.